 Add Row
  Add
Add 


Introduction
Are you tired of dull and lackluster wood trim in your home? Discover the secrets to accomplishing perfect interior wood trim with our professional painting and finishing techniques. Whether you have standard or contemporary decor, a magnificently painted and finished wood trim can elevate the overall aesthetics of your space.
In this short article, we expose the tried-and-true methods to change your interior wood cut into an artwork. Our team of specialists has years of experience and an eager eye for detail, ensuring that your wood trim looks pristine and flawless. Most of the photos below are from a recent engagement for a customer in Lewes, Delaware.
From appropriate surface preparation to picking the right tools and materials, we assist you through each step of the process. Discover how to accomplish smooth and even brush strokes, get rid of drips and streaks, and develop a long-lasting surface that will stand the test of time.

Open the tricks to achieving flawless outcomes and display the true beauty of your woodwork. Let us direct you on this transformative journey to produce an interior that is genuinely exceptional.
Value of Interior Wood Trim
Interior wood trim plays an essential function in improving the general appeal of your home. It includes definition, character, and sophistication to your interior spaces. The best option of wood trim can produce a smooth transition in between different architectural elements, such as walls, ceilings, and floors.
Wood trim likewise serves a practical purpose by securing the edges of walls and offering a smooth shift in between various surface areas. It can hide gaps, fractures, and irregular edges, leading to a polished and finished look.
Furthermore, interior wood trim offers unlimited style possibilities.
Whether you prefer a timeless, rustic, or contemporary style, there are various profiles, surfaces, and colors available to match your aesthetic preferences.
Investing effort and time into painting and finishing your wood trim can considerably boost the overall appearance of your space and increase the worth of your home. With the best techniques and expertise, you can attain flawless results that will leave a long lasting impression on anyone who enters your home.
Understanding Different Types of Wood Trim
Before diving into the painting and finishing process, it's vital to comprehend the different kinds of wood trim available. Each type has its distinct qualities, which can affect the overall outcome of your project.
1. Baseboards : Baseboards are the trim that covers the joint between the wall and the floor. They are available in different widths, profiles, and materials.
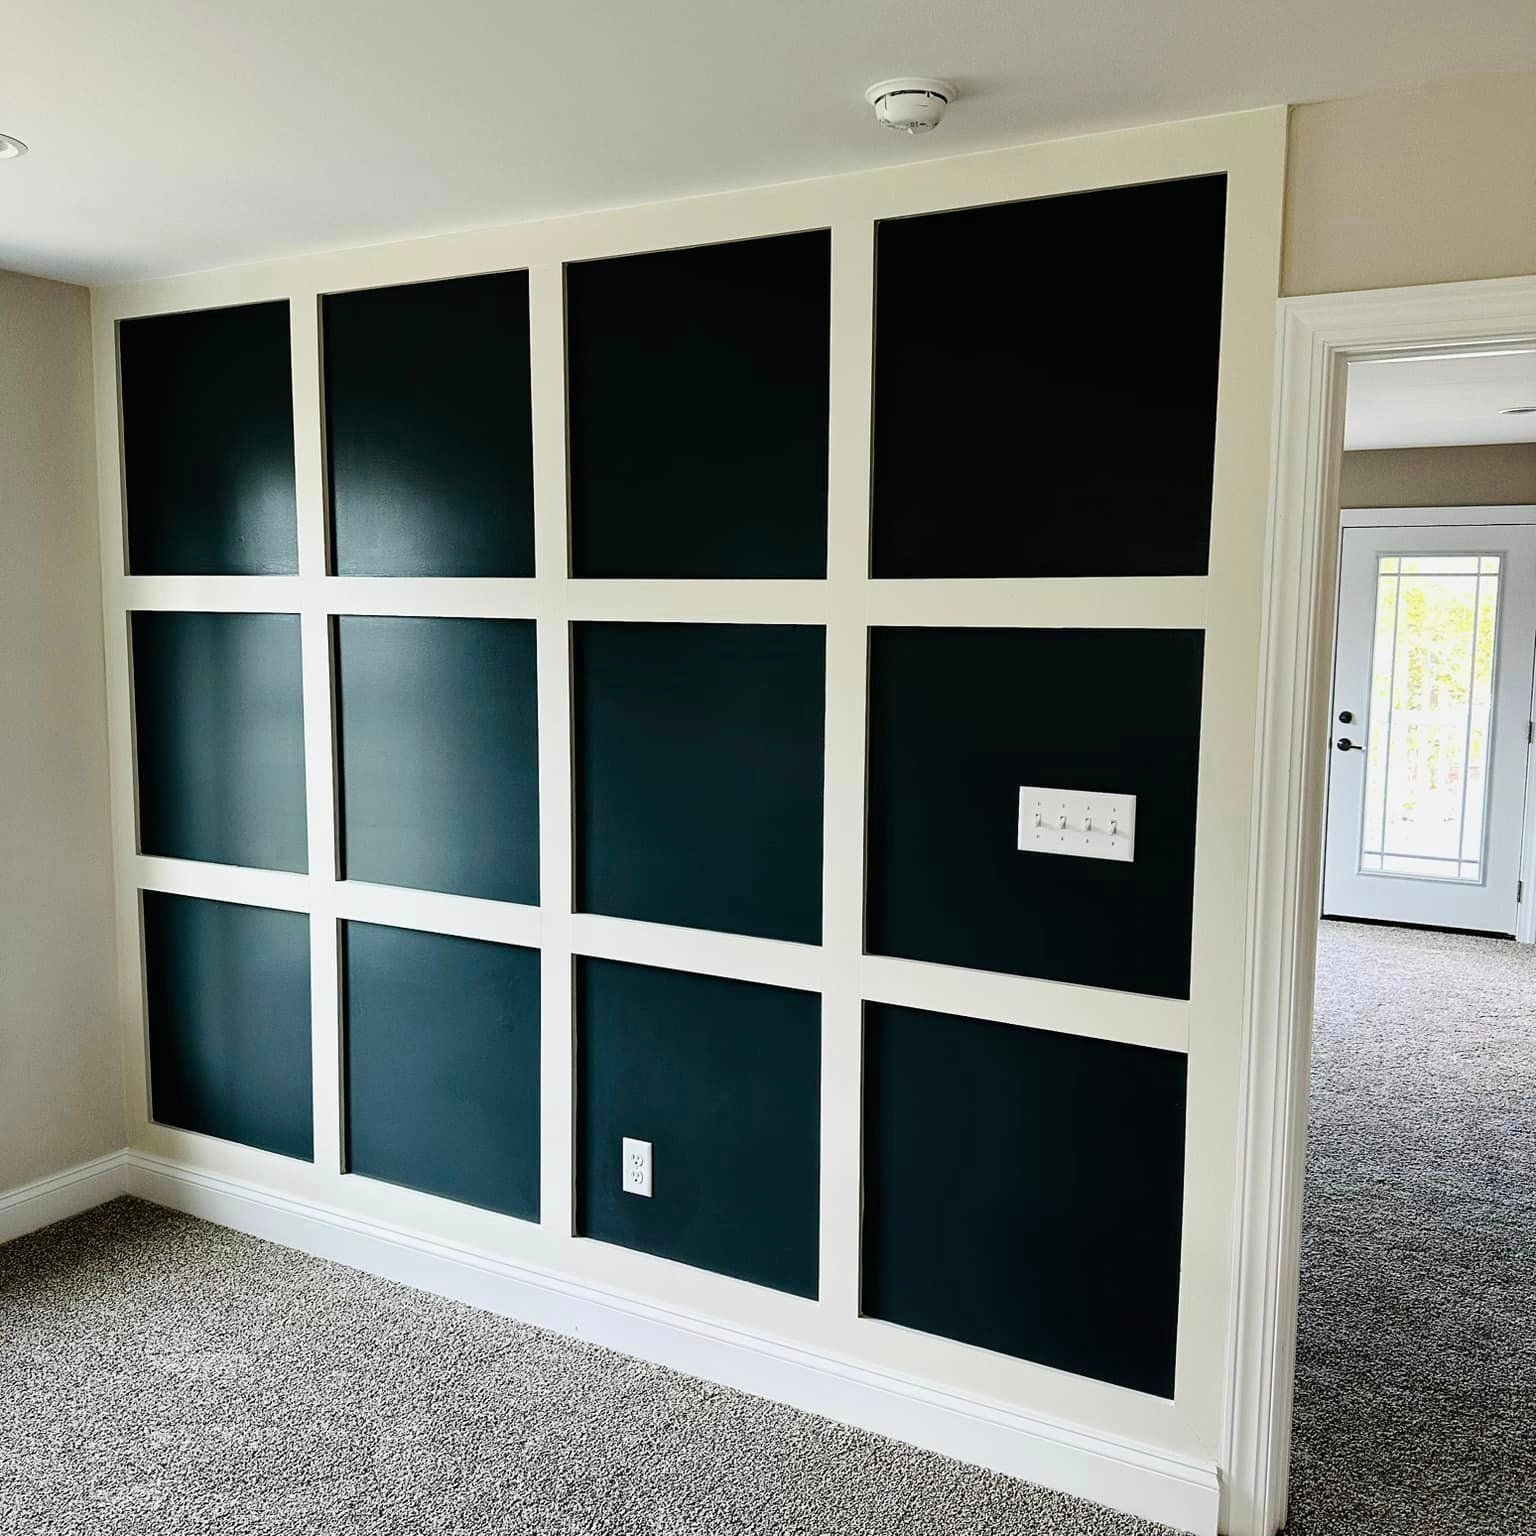
Selecting the ideal baseboard can add depth and beauty to your interior spaces.
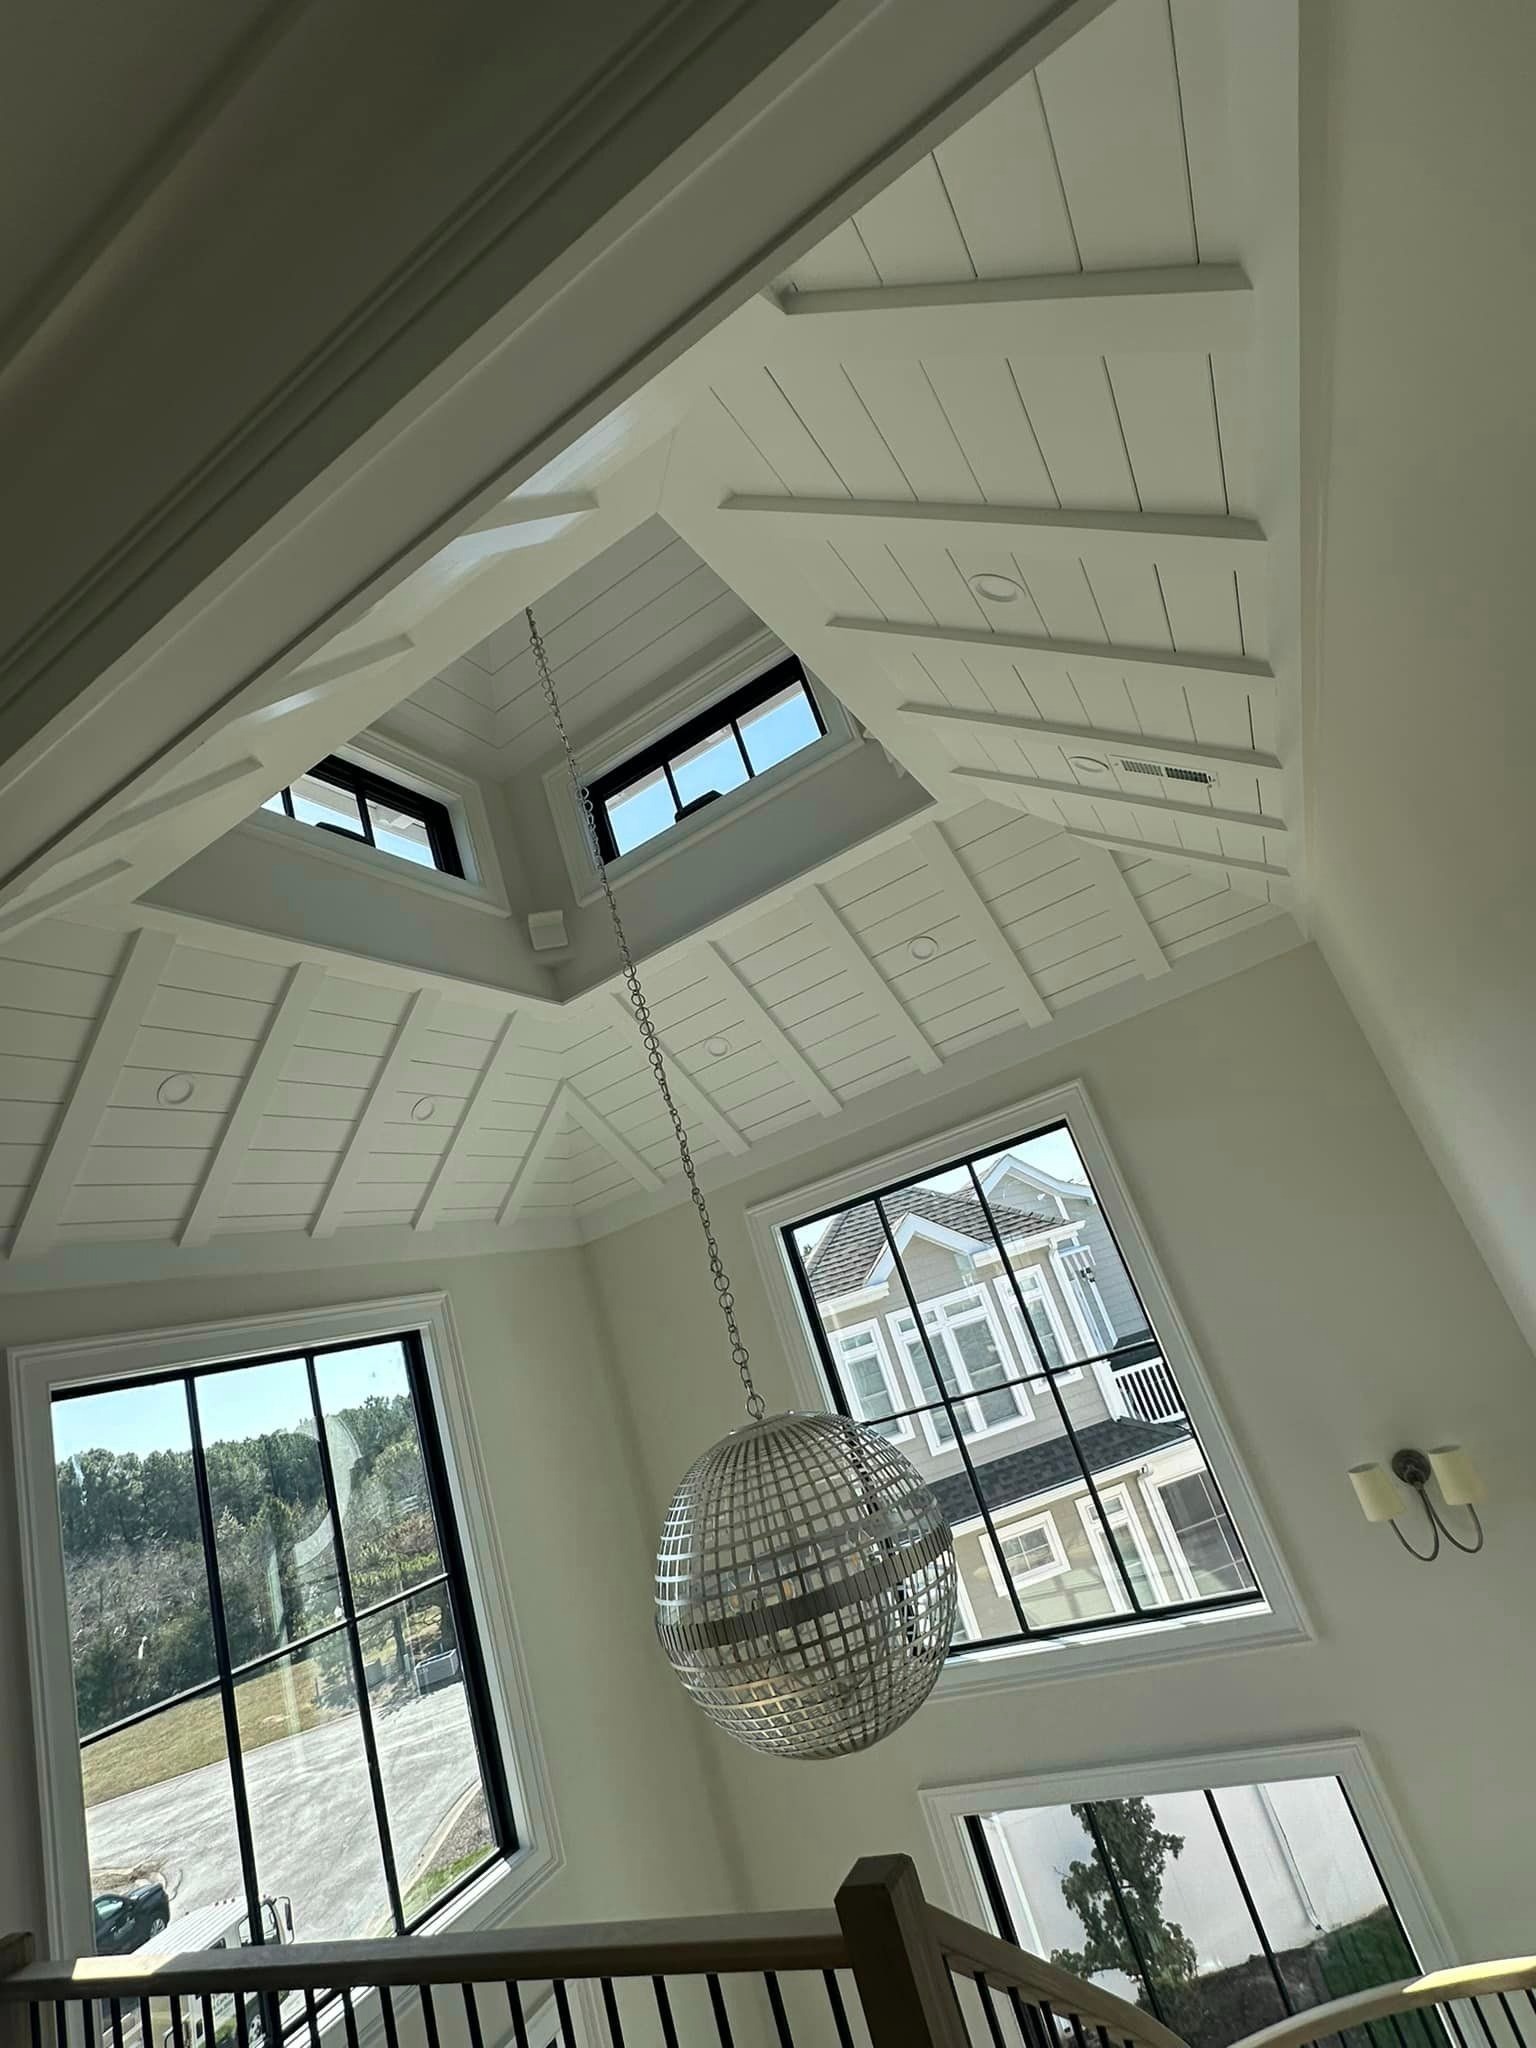
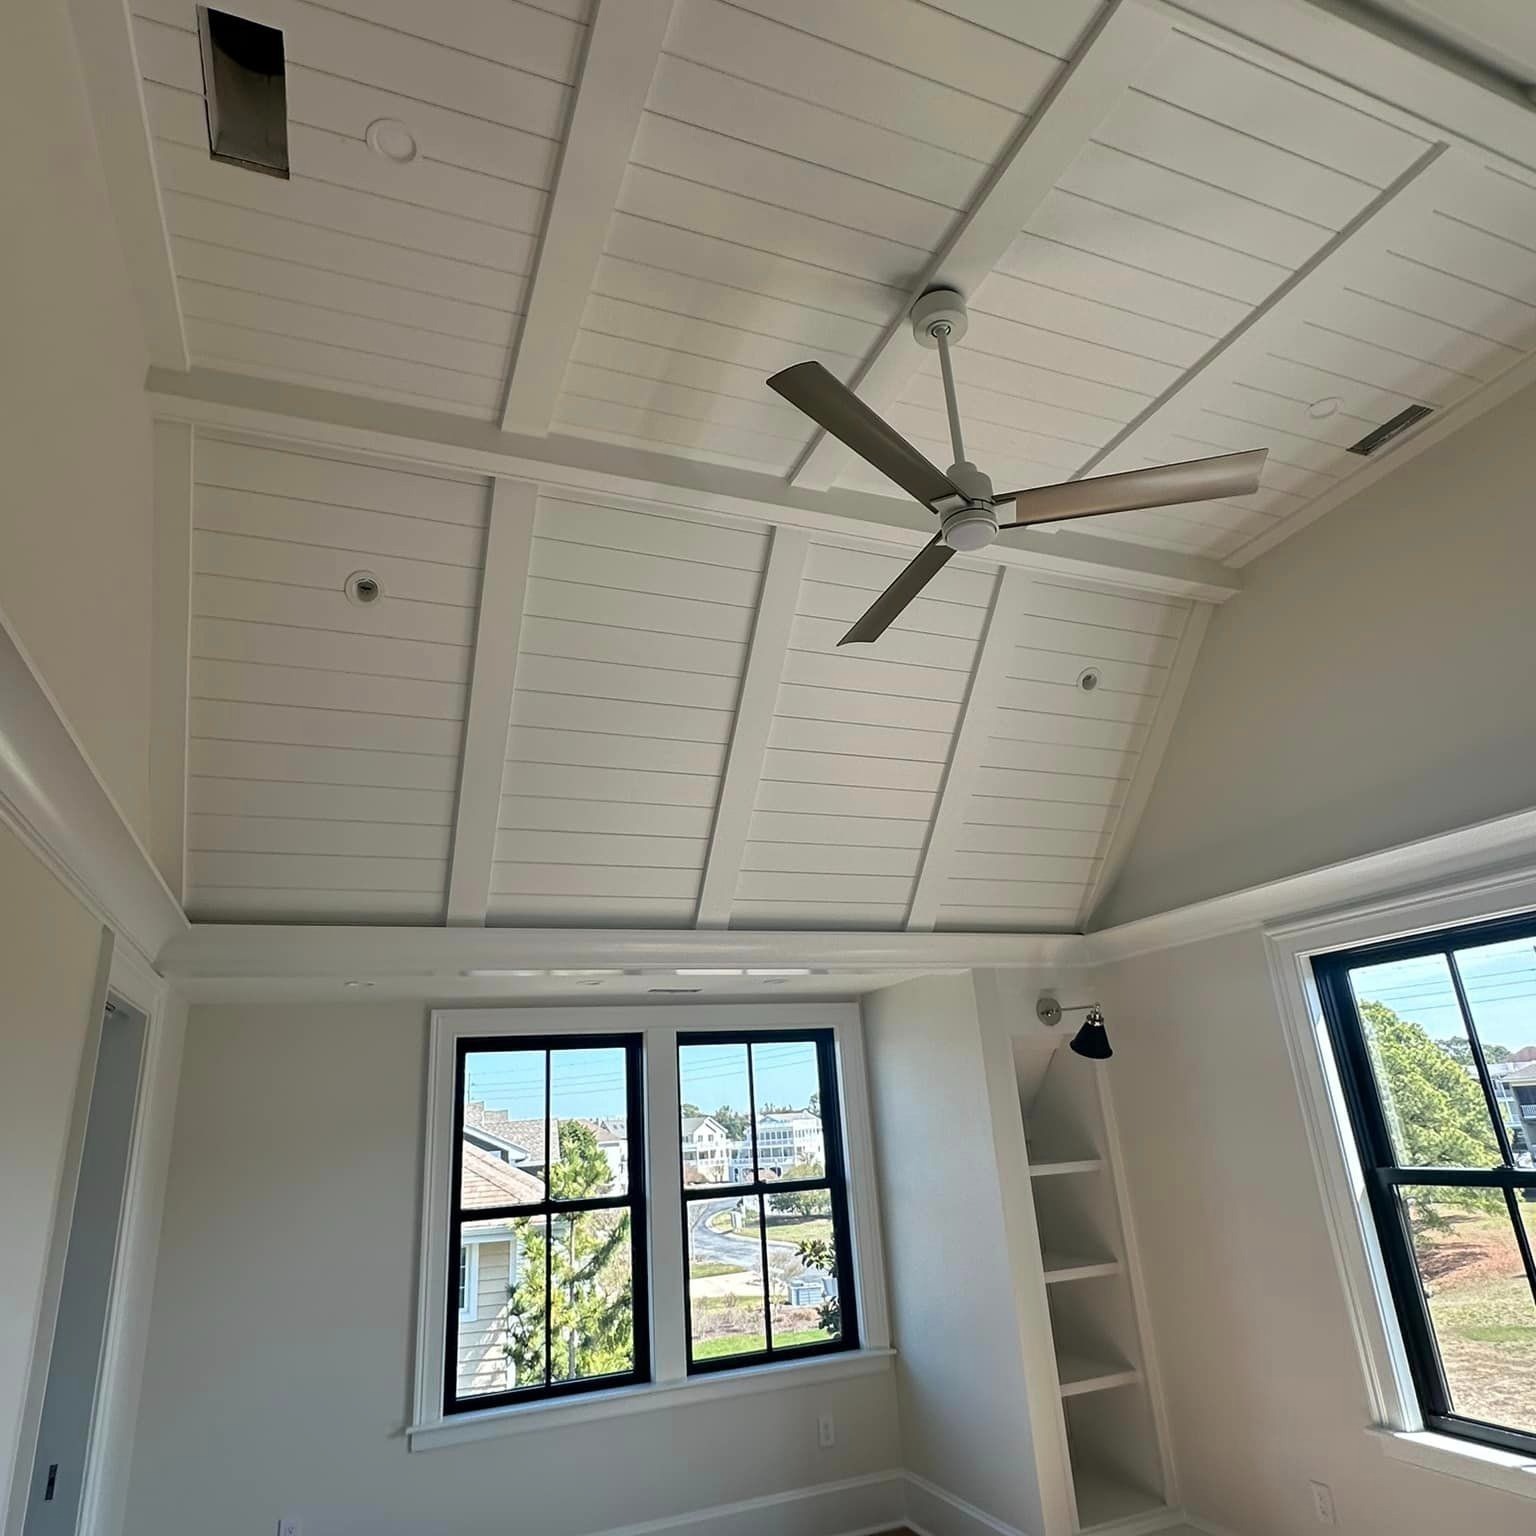
2. Crown Molding : Crown molding is installed at the intersection of walls and ceilings. It adds a touch of elegance and sophistication to any room. Crown molding can be found in various profiles, including easy and elaborate designs, enabling you to produce a customized look.
3. Chair Rails : Chair rails are set up on walls to protect them from chair backs and other furnishings. They likewise function as an ornamental aspect that adds visual interest and divides the wall into two areas, permitting innovative paint or wallpaper combinations.
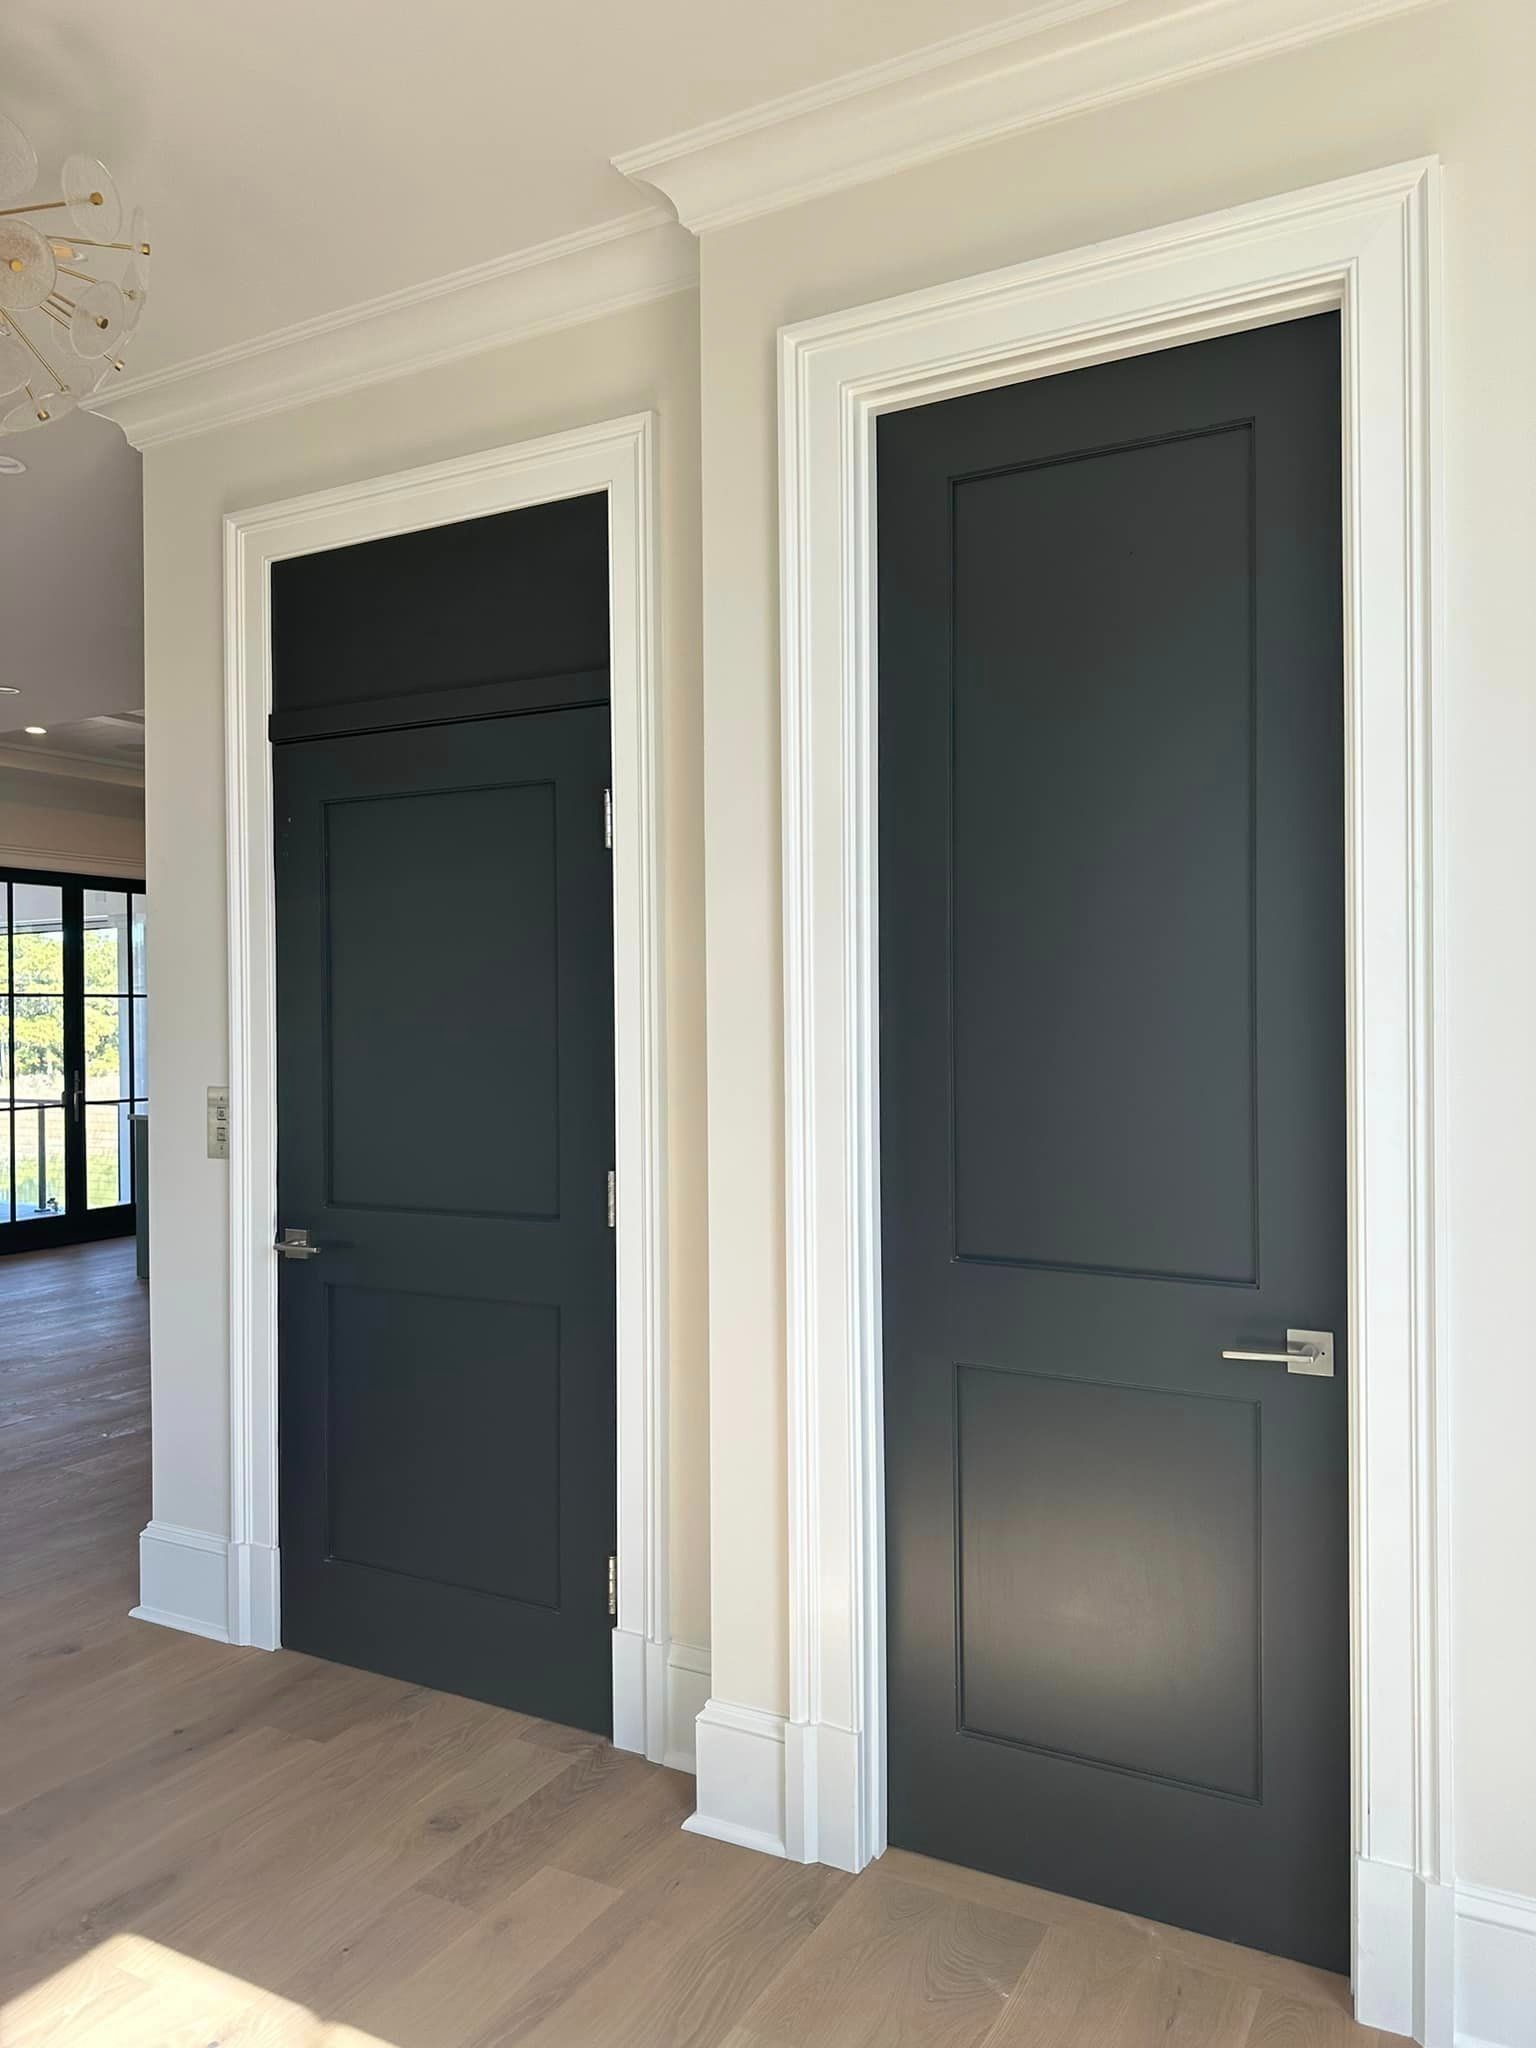
4. Window and Door Casings : Window and door casings frame the openings and provide a finished look. They are available in numerous profiles, enabling you to match the architectural style of your home.
By comprehending the various types of wood trim, you can pick the most appropriate alternatives that align with your interior decoration preferences and overall vision.
Preparing Wood Trim for Painting and Finishing
Properly preparing your wood trim is crucial for achieving flawless results. Disregarding this step can result in poor adhesion, irregular finish, and premature paint failure. Follow these steps to guarantee your wood trim is ready for painting and finishing:
1. Clean the Surface : Start by eliminating any dirt, dust, or gunk from the wood trim. Utilize a mild detergent solution or a specialized wood cleaner to carefully scrub the surface area. Wash completely and permit it to dry completely.
2. Sand the Surface : Lightly sand the wood trim to develop a smooth and even surface area. This step assists remove any flaws, such as rough areas, scratches, or old paint, and promotes better adhesion of the brand-new paint or finish.
3. Fill and Repair : Inspect the wood trim for any fractures, holes, or gaps.
Use a wood filler or putty to fill these imperfections and ensure a smooth and flawless surface area. Allow the filler to dry totally before proceeding.
4. Prime the Surface : Applying a primer is necessary for promoting adhesion and offering a consistent base for the paint or surface. Pick a primer particularly created for wood surface areas and apply it uniformly utilizing a brush or roller. Enable the primer to dry according to the producer's instructions.
5. Smooth the Surface : After priming, lightly sand the wood trim once again to ensure a smooth and even surface area. This action helps remove any flaws that might have occurred during the priming process.
By following these preparation steps, you develop a solid foundation for the paint or finish, ensuring that it adheres properly and results in a perfect and lasting appearance.

Choosing the Right Paint and Finish for Wood Trim
Choosing the right paint and surface for your wood trim is vital for attaining the desired look and toughness. Consider the list below aspects when choosing your paint and finish:
1. Paint Type : Choose a high-quality paint specifically developed for wood surface areas. Acrylic latex paints are a popular choice due to their durability, ease of application, and low odor. They also use outstanding color retention and are resistant to fading and yellowing.
2. Finish Options : Decide on the level of sheen you want for your wood trim. The most typical choices include matte, satin, semi-gloss, and high-gloss finishes. Matte finishes offer a subtle and downplayed look, while high-gloss finishes use a more dramatic and reflective appearance.
3. Color Selection : Consider the total color design and style of your area when selecting the paint color for your wood trim.
Select a color that complements the existing elements and enhances the overall aesthetic. Neutral tones, such as white, off-white, or beige, are ageless choices that work well with any decor style.
4. Sample Testing : Before devoting to a specific paint color and finish, it's necessary to check them on a small section of your wood trim. This permits you to assess how the paint and surface interact with the wood and how they appear in various lighting conditions.
By thoroughly picking the paint and finish for your wood trim, you can accomplish a flawless and long-lasting outcome that boosts the beauty of your space.
Expert Techniques for Painting Wood Trim
Now that you have prepared your wood trim and picked the ideal paint and finish, it's time to focus on the painting procedure. Follow these professional techniques to accomplish perfect results:
1. Use High-Quality Brushes : Invest in high-quality brushes particularly designed for painting wood trim. Synthetic brushes with great bristles offer exceptional control and aid accomplish smooth and even brush strokes. Prevent using low-cost brushes that may shed bristles or leave streaks on the surface.
2. Apply Thin Coats : Instead of applying a thick coat of paint, use several thin coats. This strategy assists prevent drips, streaks, and uneven coverage. Permit each coat to dry thoroughly before applying the next one.
3. Maintain a Wet Edge : When painting larger sections of wood trim, it's crucial to keep a damp edge. This implies overlapping each stroke while the paint is still damp to prevent visible brush marks or irregular drying.
4. Brushing Techniques : Use long, smooth strokes when applying paint to the wood trim. Start from one end and work your way to the other to make sure even coverage.
Prevent overworking the paint or applying too much pressure, as this can develop brush marks or unevenness.
5. Address Drips and Streaks : If you discover any drips or streaks while painting, immediately smooth them out with a brush to prevent them drying and ending up being permanent imperfections. Regularly examine the surface area for any flaws and resolve them promptly.
By following these expert methods, you can attain flawless brush strokes, remove drips and streaks, and develop a smooth and even finish on your wood trim.
Conclusion
Transforming your interior wood trim into a flawless work of art is within your reach. By understanding the significance of wood trim painting, preparing the surface area properly, choosing the best paint and surface, and using professional methods, you can achieve spectacular results that elevate the overall aesthetic of your space.
Unlock the secrets to achieving perfect outcomes and showcase the real beauty of your woodwork. With our professional painting and finishing techniques, you can develop an interior that is really remarkable. Invest the time and effort into perfecting your wood trim, and you'll be rewarded with a space that exhibits sophistication, elegance, and long lasting beauty.


Write A Comment